Knife Sharpening at Home: Diy Tips And Tricks
Sharpening knives at home is easy with these DIY tips and tricks. Keep reading for a comprehensive guide on how to sharpen your knives effectively and efficiently.
Whether you’re a professional chef or a home cook, properly sharpened knives are essential for safe and precise cutting. By following these simple steps, you can maintain the sharpness of your knives and prolong their lifespan. Begin by gathering the necessary tools, such as a sharpening stone or honing rod, and familiarize yourself with the correct sharpening angle for your specific knife.
Next, ensure the blade is clean and dry before starting the sharpening process. Use smooth and consistent strokes to sharpen the blade, focusing on one side at a time. Finish by testing the sharpness and making any necessary adjustments. With a little practice, you’ll become proficient at sharpening your knives at home. So let’s dive into the details and get those blades razor-sharp!
Importance Of Knife Sharpening
Knife sharpening is an important and often overlooked aspect of kitchen maintenance. Having sharp knives not only improves efficiency in the kitchen but also enhances safety and precision during food preparation. Sharpened knives make it easier to cut through tough ingredients, reducing the risk of accidents caused by slips and uneven cuts. When knives are sharp, less force is required to make clean cuts, resulting in smoother and more consistent results. By regularly sharpening knives at home, you can save time and money that would otherwise be spent on professional sharpening services. Additionally, DIY knife sharpening allows you to maintain control over the sharpness of your knives at all times, ensuring you have the right tools for any culinary task. So, grab your sharpening tools and start honing those blades for a more efficient and enjoyable cooking experience!
Choosing The Right Sharpening Tools
When it comes to knife sharpening at home, choosing the right sharpening tools is essential. Understanding the different types of sharpening tools can help you make an informed decision. Manual sharpeners and electric sharpeners are the two main options available. Manual sharpeners are handheld and require manual effort to sharpen the knife. On the other hand, electric sharpeners are powered and offer convenience and speed.
Grit levels play a crucial role in knife sharpening. The higher the grit level, the finer the sharpening result. Lower grit levels, such as 1000, are suitable for repairing damaged blades, whereas higher grit levels, such as 5000, are ideal for finishing and polishing. It is important to choose the appropriate grit level based on the condition of your knife.
| Type of Sharpening Tool | Pros | Cons |
|---|---|---|
| Manual Sharpeners | Portable and versatile | Requires manual effort |
| Electric Sharpeners | Convenient and fast | Expensive and may remove more material |
Step-By-Step Knife Sharpening Process
Preparing the workspace and tools: Before getting started, make sure your work area is clean and well-lit. Gather all the necessary tools and materials, such as a sharpening stone or rod, lubricant, and a clamp or vice to secure the knife.
Assessing the condition of the knife blade: Inspect the blade carefully for any nicks, chips, or signs of damage. Determine the sharpening angle based on the type of knife and its purpose.
Choosing the appropriate sharpening technique: Depending on the condition of the blade, you can opt for either a manual sharpening method or an electric sharpening device. Each technique has its own advantages and considerations.
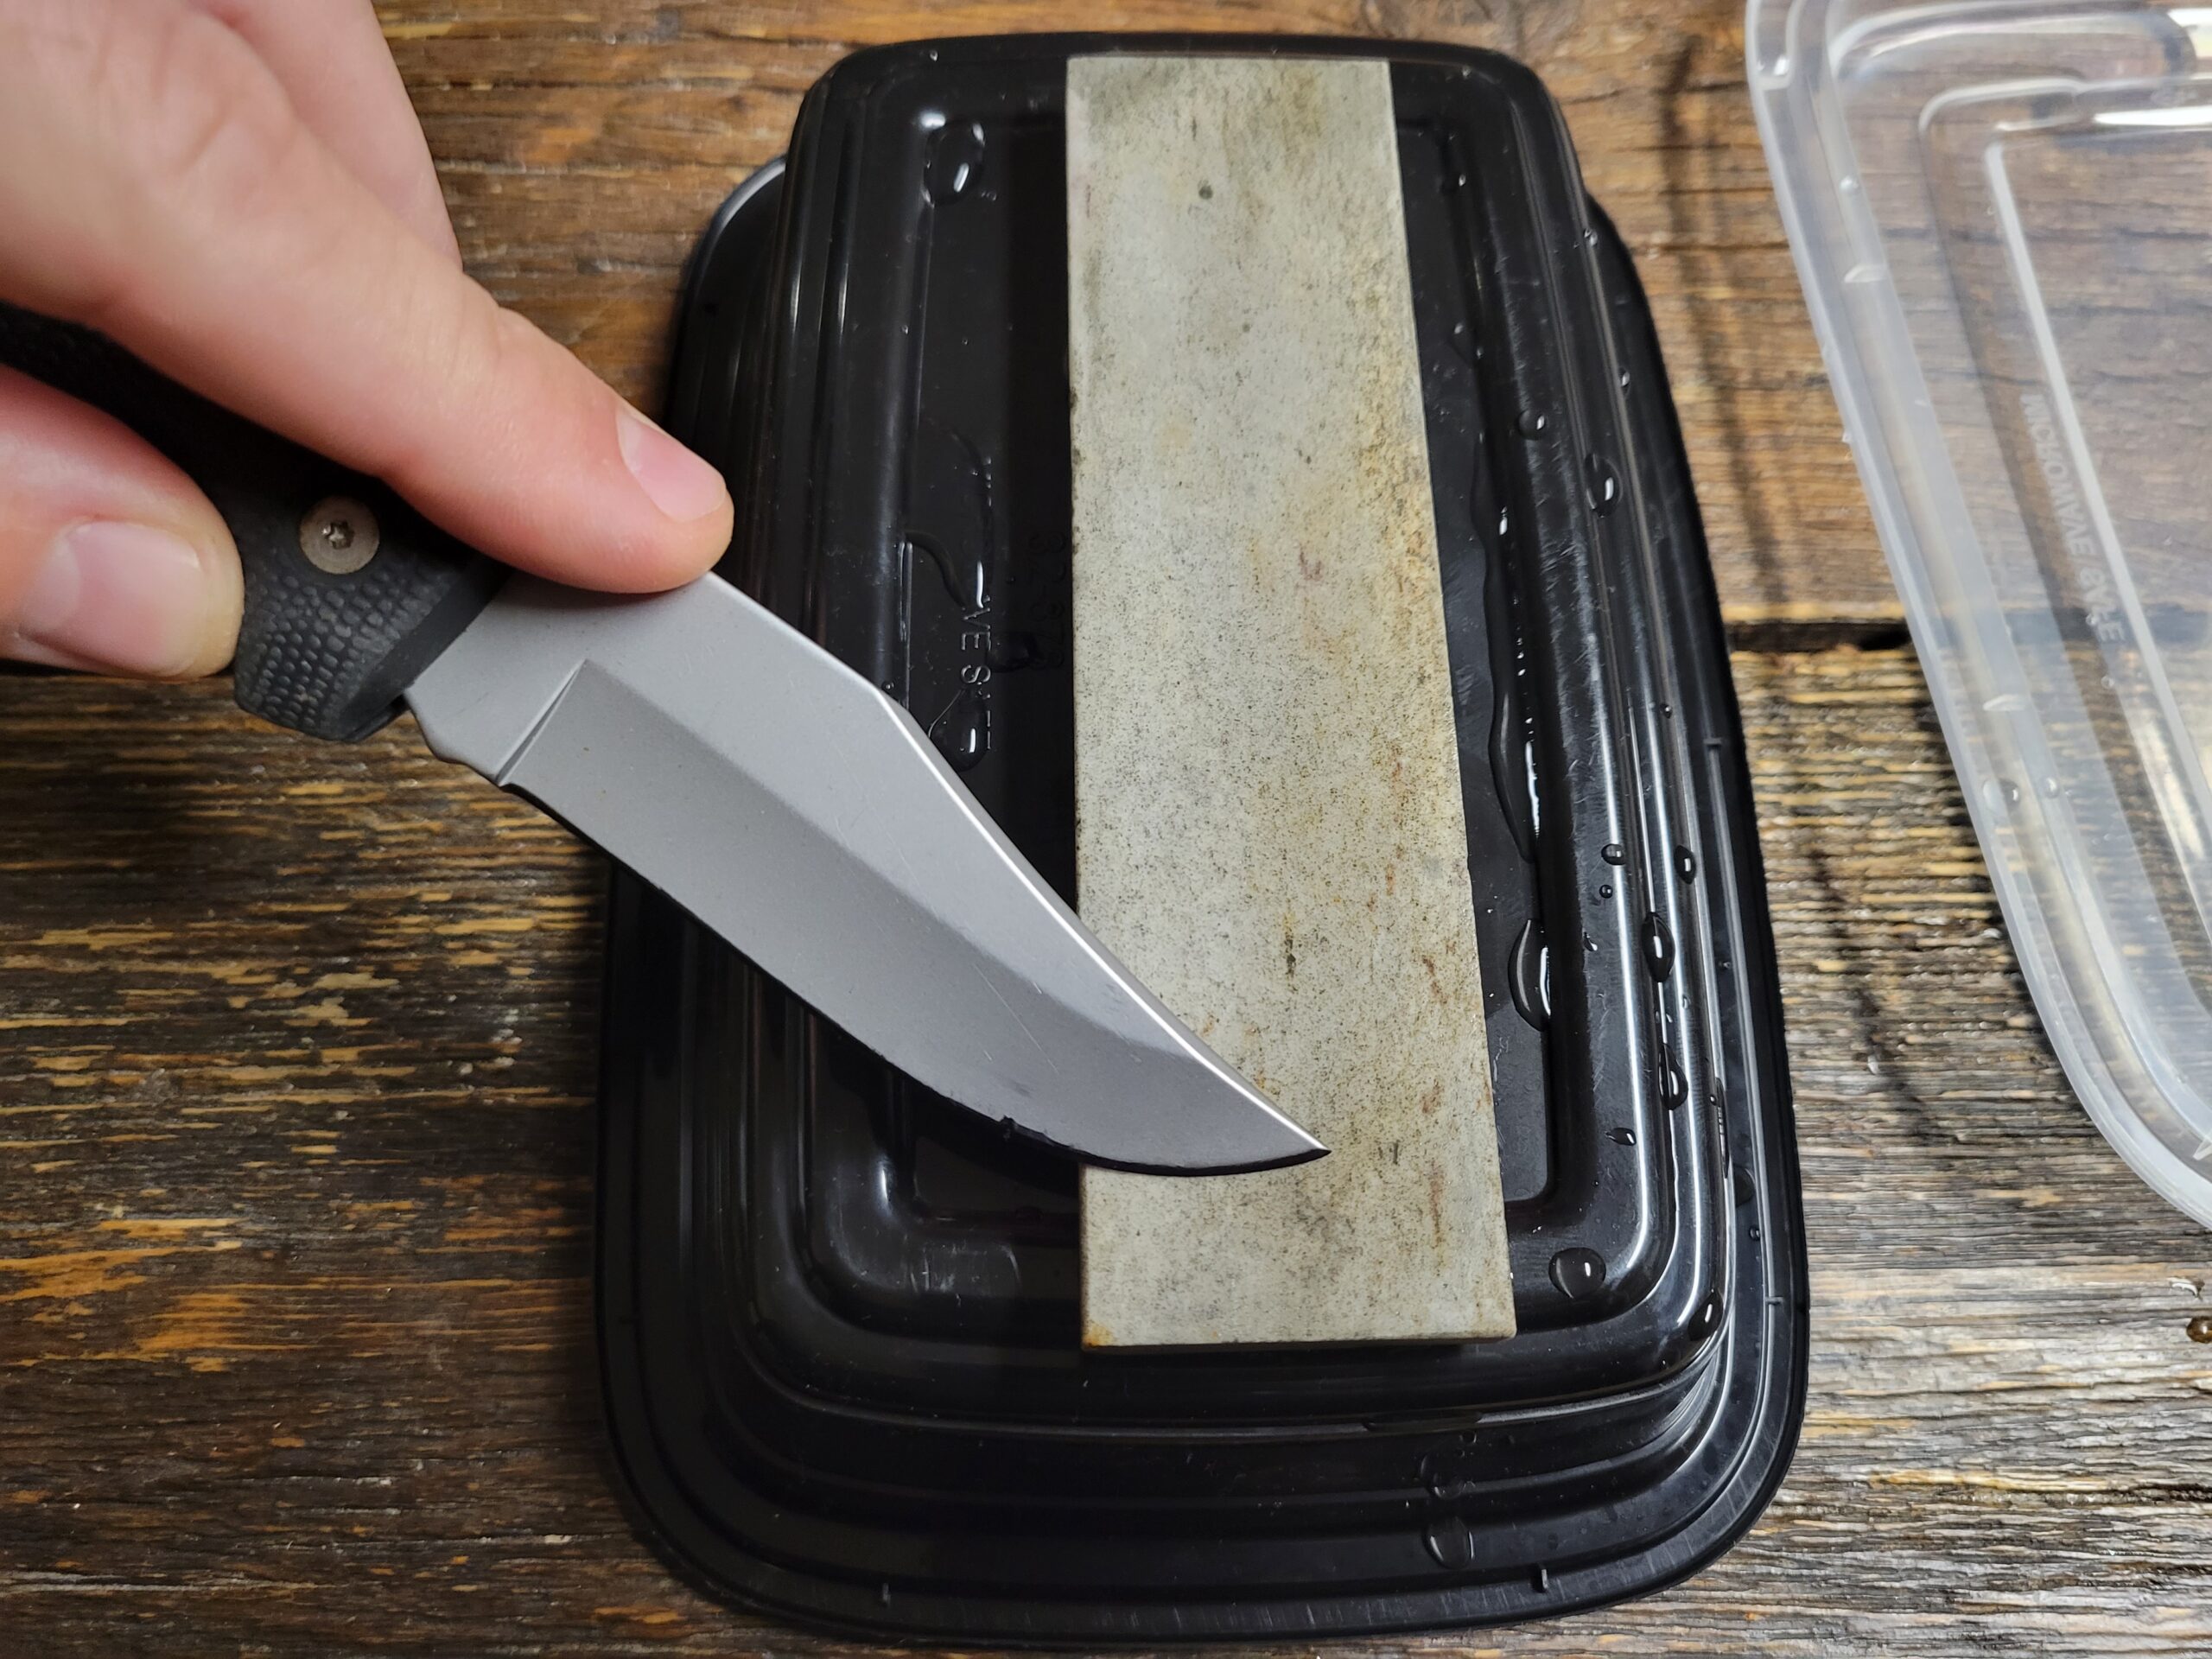
Performing the sharpening process: Follow the recommended steps for the chosen sharpening technique. Apply the lubricant to the stone or rod, then hold the knife at the appropriate angle and move it steadily across the sharpening surface. Repeat the process on each side of the blade.
Testing the sharpness of the knife: Once you’ve completed the sharpening process, carefully test the knife’s sharpness by gently slicing through a piece of paper or performing a simple cutting test. If the knife isn’t sharp enough, repeat the sharpening process until desired results are achieved.
Sharpening Techniques For Different Knife Types
When it comes to knife sharpening at home, there are various techniques that you can use depending on the type of knife you have. For sharpening a chef’s knife, it is best to use a sharpening stone to maintain its sharpness and edge. Gently glide the blade across the stone in a slicing motion.
For sharpening serrated knives, you will need a serrated knife sharpener or a tapered round sharpening rod. Carefully insert the rod into each serration and move it back and forth to sharpen the edge.
A paring knife can be sharpened using the same method as a chef’s knife. Make sure to maintain a consistent angle as you glide the blade across the sharpening stone.
When it comes to sharpening a fillet knife, you can use a flexible diamond sharpening rod. Hold the knife at a slight angle and gently run the sharpening rod along the edge, starting from the base to the tip of the blade.
By following these DIY tips and tricks, you can easily sharpen different types of knives at home, ensuring that they remain sharp and ready for use whenever you need them.
Maintaining And Storing Sharpened Knives
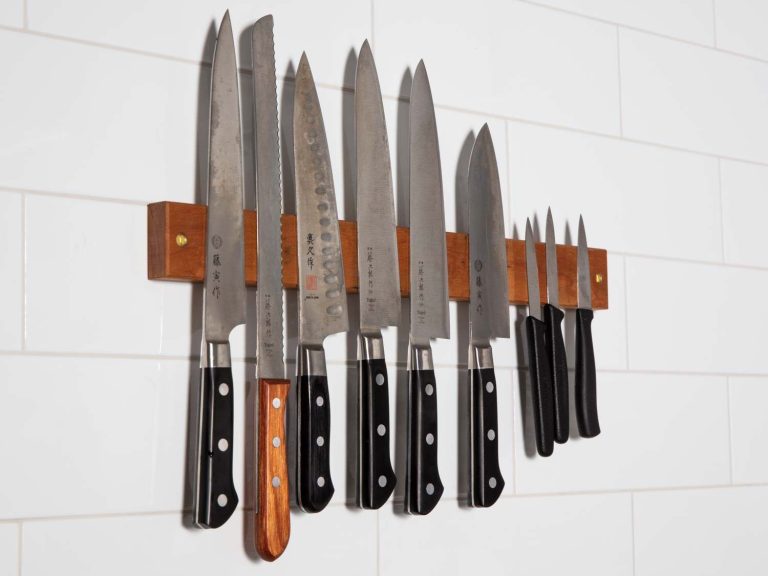
Under the heading of maintaining and storing sharpened knives, proper cleaning and maintenance tips play a crucial role. **Regularly cleaning** your knives after each use is essential to prevent the buildup of dirt and food particles. **Hand wash** the knives with mild dish soap and warm water, ensuring thorough cleaning of both the blade and handle. Avoid using abrasive sponges or harsh cleaning agents to prevent scratches. After cleaning, **thoroughly dry** the knives to prevent rusting.Proper storage is equally important to maintain the sharpness of your knives. **Consider using a knife block**, magnetic strip, or blade guards to protect the blades and prevent accidents. **Avoid storing knives loose** in a drawer as it can cause the blades to dull quickly or become damaged. Additionally, it’s crucial to avoid common mistakes after sharpening your knives, such as **using them on inappropriate surfaces** or cutting frozen foods. By following these tips, you can ensure your knives remain sharp and in excellent condition for extended use.Safety Measures And Best Practices
Knife Sharpening at Home: DIY Tips And Tricks
Importance of Using Protective Equipment
When sharpening knives at home, it is important to prioritize safety to prevent any potential injuries. Using the right protective equipment can significantly reduce the risk of accidents.
- Wear cut-resistant gloves to protect your hands from cuts or abrasions.
- Use safety goggles or protective eyewear to shield your eyes from any flying metal particles.
- Consider wearing a long-sleeved shirt or an apron to protect your arms and torso.
Preventing Injuries During the Sharpening Process
Aside from using protective gear, there are additional measures you can take to ensure a safe knife sharpening experience:
- Maintain a stable working surface and ensure proper lighting to avoid slips or accidents.
- Inspect your knives for any damage or defects before sharpening them.
- Always keep your fingers away from the blade and maintain a firm grip on the knife handle.
- Follow the correct sharpening technique to minimize the risk of mishaps.
- Store your sharpened knives in a safe and secure manner.
Troubleshooting Common Sharpening Issues
One common issue encountered when sharpening knives at home is uneven sharpening. This can lead to a blade that is not uniformly sharp, making it less effective for cutting. To identify and fix uneven sharpening, start by visually inspecting the blade for any areas that appear dull or have a different level of sharpness. Use a sharpening stone or honing rod to focus on those specific areas, applying consistent pressure and maintaining the correct angle for sharpening. If the blade has chips or nicks, they can be dealt with by using a coarse grit stone to remove the damaged metal. This should be followed by progressively finer grits to refine the edge and restore sharpness.
Another common issue is a dull knife edge. If the blade is not achieving the desired sharpness, it may require a more aggressive sharpening approach. Start with a coarse stone or sharpening tool to remove the old edge and create a new bevel. Once the bevel is established, continue sharpening using finer grit stones or tools to refine and polish the edge. A honing rod can also be used regularly for maintenance to keep the edge sharp between sharpening sessions.
Recommended Sharpening Tools And Accessories
table, th, td { border: 1px solid black; border-collapse: collapse; } th, td { padding: 8px; text-align: left; }| Top-rated sharpening stones | Electric sharpeners for beginners | Additional accessories for a professional touch |
|---|---|---|
| With their superior quality and durability, top-rated sharpening stones are a must-have for anyone looking to sharpen knives at home. These stones are designed to provide precision sharpening and come in various grits to cater to different levels of blade dullness. Whether you are a beginner or an experienced sharpener, investing in a high-quality sharpening stone would significantly enhance your sharpening results. | Electric sharpeners are perfect for beginners who want quick and hassle-free sharpening. With easy-to-use features and precise grinding angles, these sharpeners can bring back the sharpness of your knives without requiring much effort. They are equipped with built-in guides and abrasive wheels to ensure consistent results every time. | To achieve a professional touch in your knife sharpening, consider additional accessories such as honing rods, leather strops, and angle guides. Honing rods are ideal for maintaining the knife’s edge between sharpenings, while leather strops help in achieving a polished finish. Angle guides can assist in achieving precise sharpening angles, resulting in optimal cutting performance. |
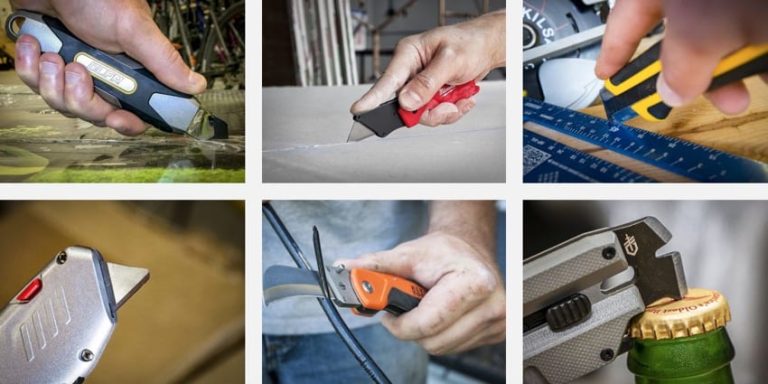
Credit: www.outdoorlife.com
Conclusion
Properly maintaining your kitchen knives is essential for maximizing their lifespan and keeping them in peak condition. With these DIY knife sharpening tips and tricks, you can achieve professional-level results right at home. Remember to use the appropriate sharpening tools, such as a whetstone or honing rod, and to carefully follow the correct technique for your knife type.
Regularly honing your knife and sharpening it when necessary will ensure that it remains sharp and efficient, making your cooking experience safer and more enjoyable. Additionally, consider practicing proper knife handling and storage techniques to avoid unnecessary wear and tear.
By investing a little time and effort into knife sharpening, you can save money and reduce waste by prolonging the life of your knives. With these effective DIY techniques, you can confidently tackle any culinary task with a well-sharpened knife in hand.
Sharpen your skills and keep those blades sharp!